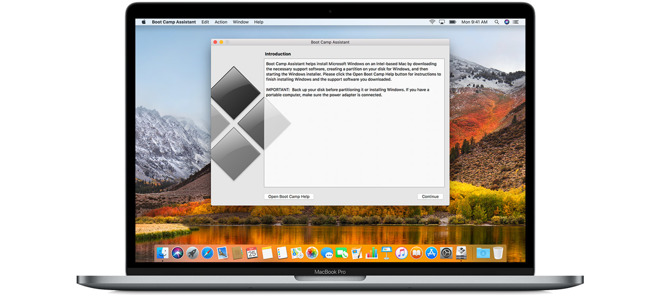
Tips: How to make Windows 10 install media on macOS High Sierra
First, get the .ISO file from Microsoft here. Importantly, this doesn't contain a license code, so you'll need to get one of those yourself.
We implore you —get the .ISO from Microsoft. Don't use a shady source.
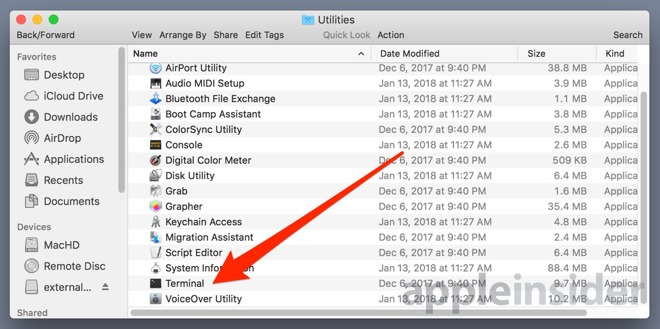
Making a Windows 10 install disk from macOS High Sierra isn't as simple as formatting a drive in Disk Utility and copying over files in the Finder —you need to use the Terminal. So, mount the disk you want to make install media, and open up the Terminal.
Find the name of the drive that you want to install the media on. Be sure that you've got this right —because in later steps you can do massive damage to your boot drive if you're not careful.
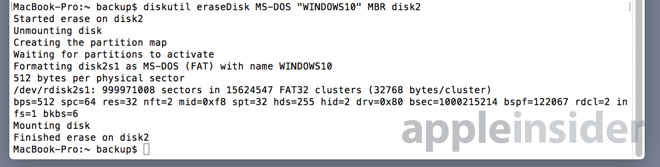
Type diskutil list in the Terminal window to get a list of your drives. In our case here, it's "disk2." We'll use "disk2" going forward with this tip, but in the place of "disk2" use which disk identifier is appropriate for you.

Next, we'll format the disk in Terminal. Enter
diskutil eraseDisk MS-DOS "WINDOWS10" MBR disk2
This will format the drive suitable for a UEFI boot, name it "WINDOWS10," and mount it.
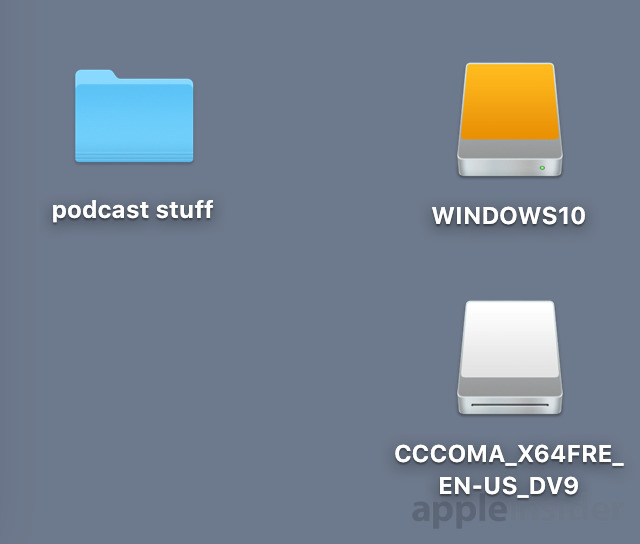
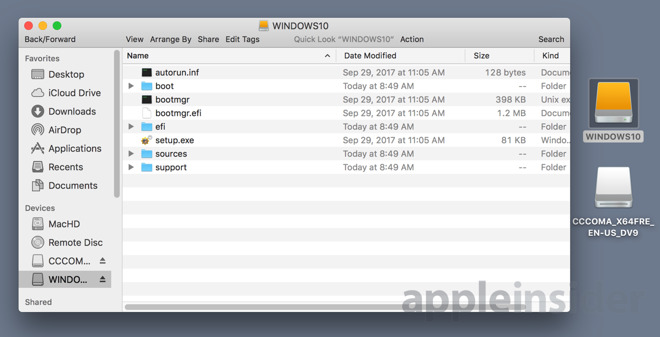
Your Windows 10 .ISO file download is probably in your Downloads folder. Mount the .ISO by double-clicking on it. It is probably called "CCCOMA_X64FRE_EN-US_DV9" but double-check.
A Finder copy doesn't work. In the Terminal enter:
cp -rp /Volumes/CCCOMA_X64FRE_EN-US_DV9/* /Volumes/WINDOWS10/

The Terminal will sit there for a minute, seemingly unfazed by your command. However, it is working, and after a period of time depending on the speed of your media it will complete unceremoniously —but your data will be copied, and your media will be bootable.
Tidak ada komentar